Intro #
POV - Your Mighty is dead and the charger is gonezo.
This is not a good situation.
Thankfully, I’m here to show you how to make yourself a replacement charger using USB-C PD. The following project is super simple and uses parts readily available from Ali Express/eBay, all you need is a few parts and some very basic soldering skills.
I’m not great at this blogging thing.. #
Okay, so, this has been sitting in my drafts for what feels like years and now the updated devices have come out with USBC onboard which is great, but I hope this will still be useful to lots of people out there!
Things You Need #
You will need the following to complete this project, all in all if you have a soldering iron and solder already, this will be a very cheap project.
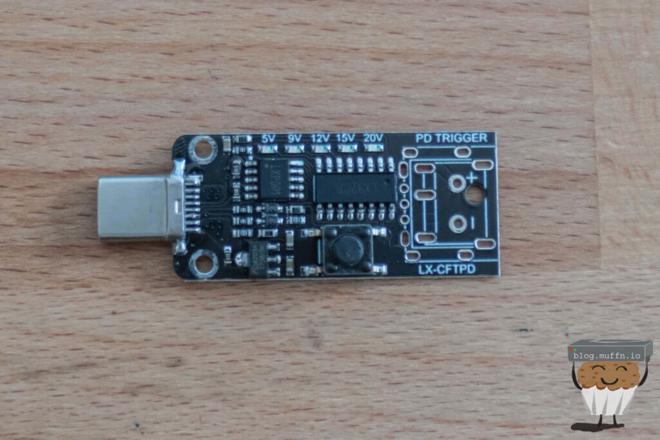
- Super Mini ZYPDS / ‘PD Trigger’ - This little guy will negotiate PD with our charger. In my previous interation of this project I also needed a step down to take 20V > 12V however I can see these are now available in many variations. The one linked here will allow us to do 9V and 12V, the latter of which our devices use.
Please read this post in full before purchasing. Some discoveries were made that will affect purchasing of these. There are lots of other boards you can get, read below.
- 2.1mm X 5.5mm Barrel Jack Connector - We will be chopping one end of this cable off and using the other end for our vaping device.
- Heatshrink - Get a selection of sizes, we will use this for enclosing the connections we solder and closing off the ZYPDS.
- Soldering Iron & Solder - For obvious reasons, use what you have. If you do not own a soldering iron, I cannot reccomend the TS80 by Miniware enough, this also uses USB-C PD.
- Multimeter - Not strictly necessary however it will ensure te voltage we will be delivering to our vape is safe. After some revelations below, I would make sure you have a multimeter for this.
Getting A USB PD Trigger Device #
We need a device that can negotiate USB-PD and output 12V for the Mighty. The listing I linked above is exactly that, but what you receive may not be as advertised as you will see below. The boards I received were not 9V/12V, but in fact 15V/20V, which was annoying.
If you search for ‘PD trigger’ into your marketplace of choice, you should get a multitude of devices that will do what we need. Many of them have selectors for choosing a specific voltage, which will mean you don’t get sent one with the wrong configuration.
There are many variants, this one for example is set at a specific voltage which you select at purchase:
[image temporarily gonezo]
Then there are boards like this which have a button to select the voltage and have options for the USB side of things, this one being male is particularly interesting.
[image temporarily gonezo]
Here is an example of one with 9V/12V/15V/20V all selectable. +
What board you get is up to your region and your needs. It just need to be able to ingest USB-PD and output 12V. All of these above I found on eBay and were a lot more expensive than their AliExpress counterparts, but not having to wait weeks is worth it considering how inexpensive they are in general.
Getting The Things #
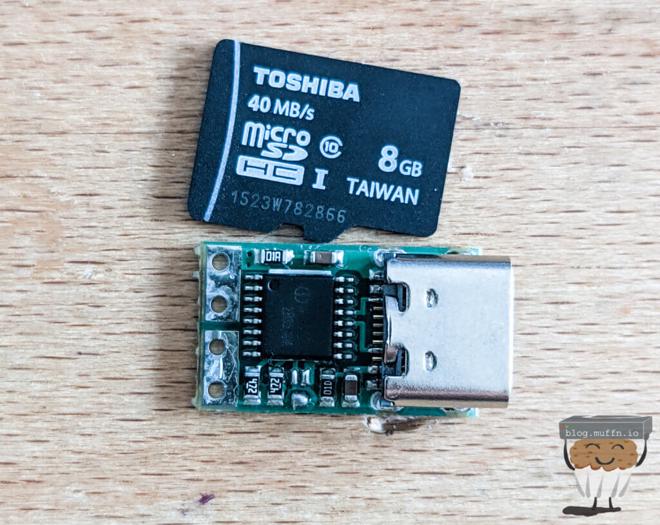
When you receive your items the first thing you will notice is how adorable the ZYPD is, it really is very small.
Here is mine with a MicroSD for comparison:
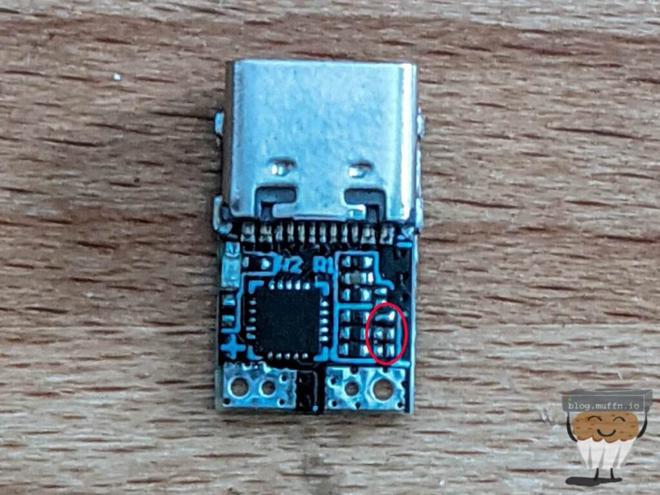
You will want to make sure yours has shipped in the ‘12V’ configuration mode, the Aliexpress listing has photos of how this should be configured. These ‘solder switches’ are only applicable to some boards, look at the listing of the board you purchased and work out if you need to do anything to set it to 12V.
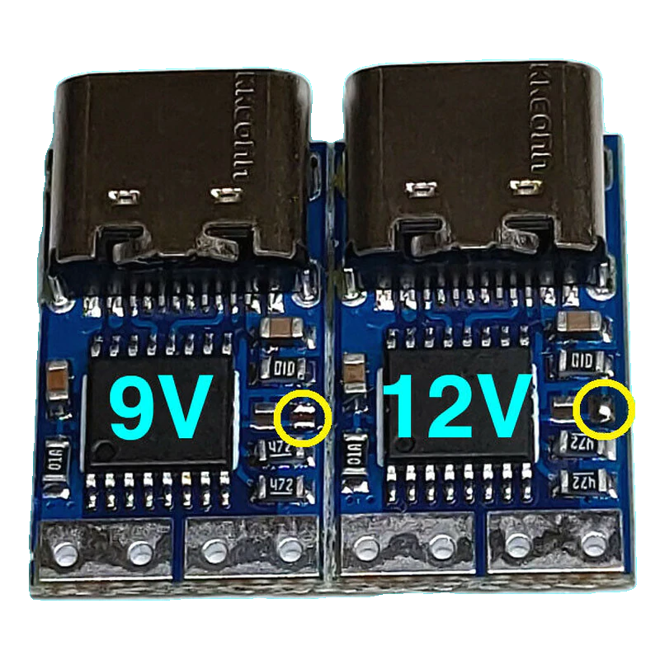
If you have to do this simply put a small bit of solder on the end of your iron and heat up the pads, the two joints should flow and join.
If you have no idea how your board is set up or how to set the voltage, just check to see what it’s outputting first by plugging it in and probing with a meter.
Problems #
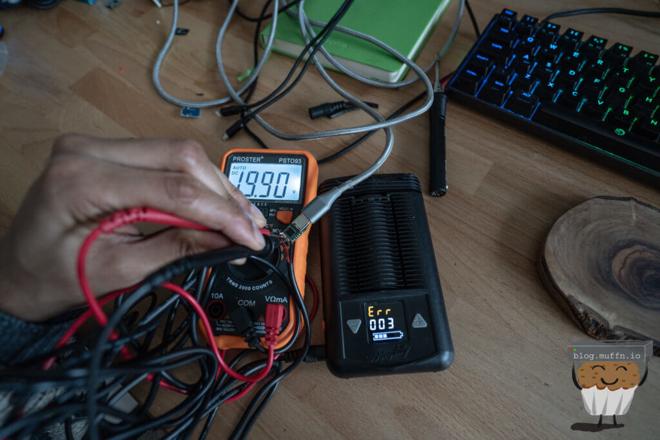
So I actually bought 3x ZYPD boards since they’re so cheap and great little project boards. Before soldering everything together, I decided to check the output of the ZYPD I opened, and I got the following:
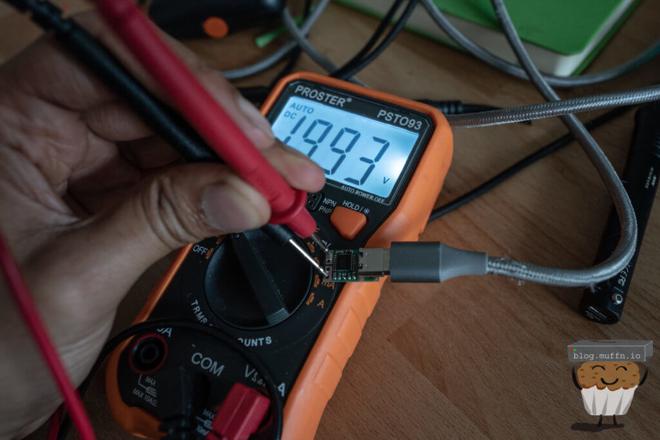
Big yikes. Obviously, 19V is not 12V, and so I was curious if it was just outputting this without any load, and drops to 12V when required.
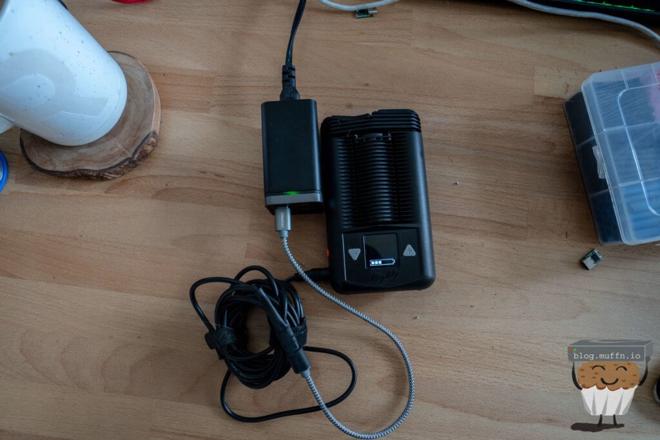
I decided to wire it up roughly with the barrel jack and test the charging with my Mighty for science, I didn’t think a few extra volts would blow it up and if it did then, lesson learned.
As you can see, the Mighty refuses this, which is a good thing. Alright then.
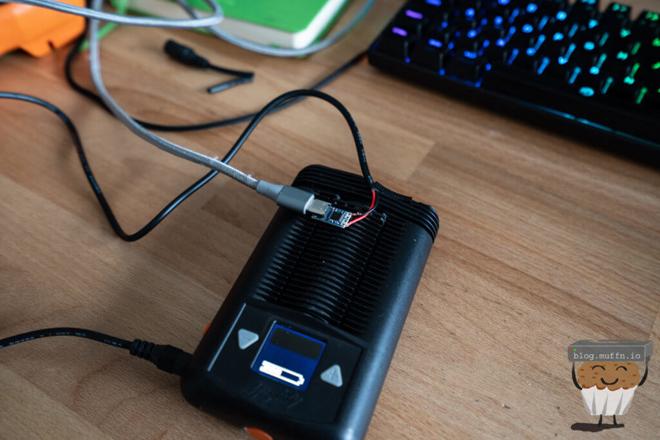
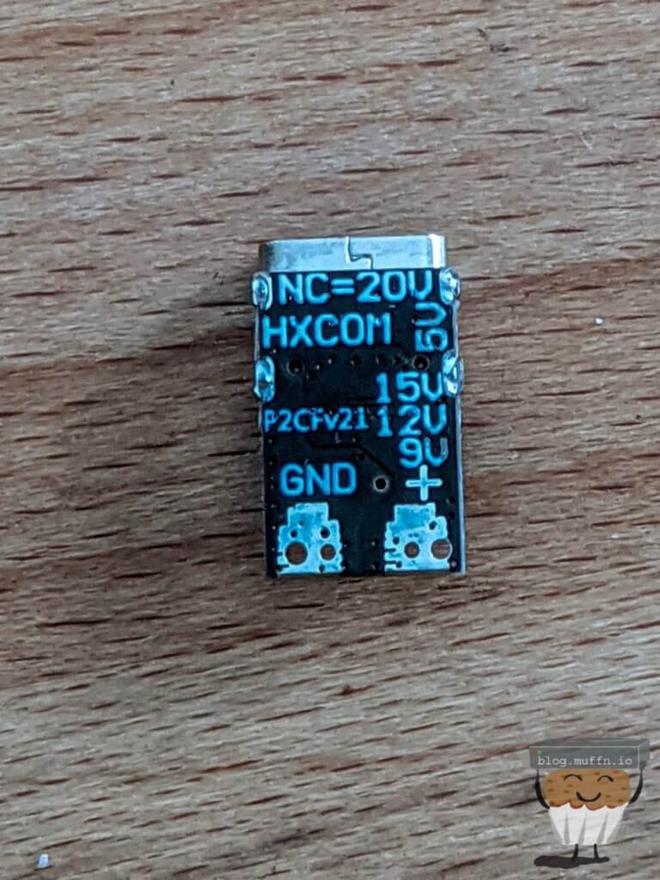
So at this point I’m a bit confused, I go ahead and open the rest of my ZYPDs and notice one of them has a blue PCB. I decided to test the voltage of the one with a blue PCB and what would you know…
Lo and behold, when doing the charge test with this blue PCB ZYPD the Mighty charges as expected.
I know they sell these in 9V/12V as well as 15V/20V, it would appear the batch I got was incorrect, as it does state at the back that it is 9V/12V, but the output does not reflect that. Unbridging the solder joint does indeed drop it to 15V.
Please check the listing that you purchase your ZYPD from and maybe ask the seller to only ship you blue PCB ZYPDs // ones tested to output over 12v.
If they cannot do this, verify yourself and if it’s the incorrect message the seller, I did and they were not helpful, but AliExpress gave me an almost full refund when I opened a case.
Some Testing #
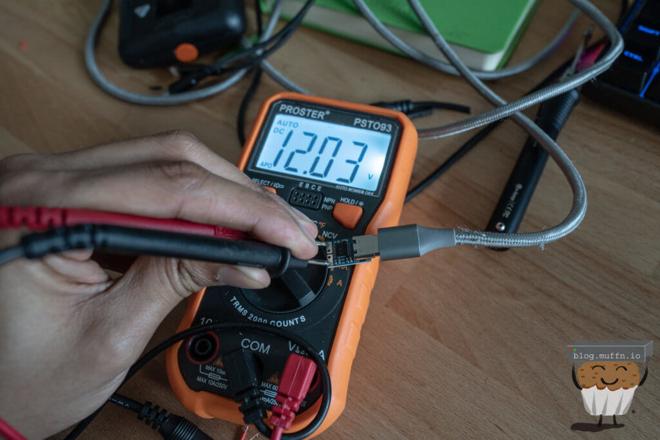
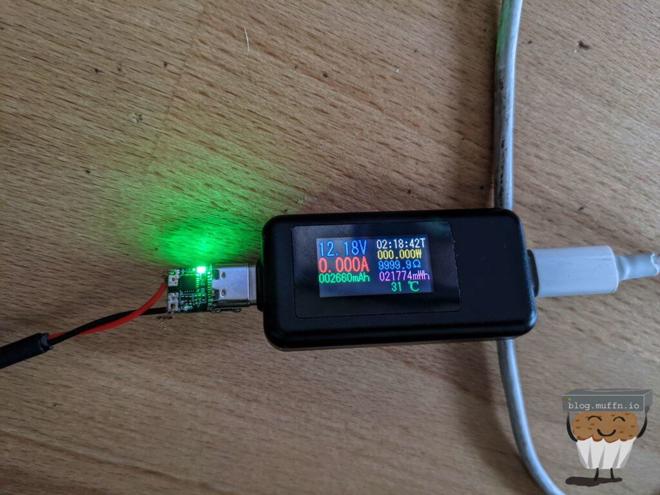
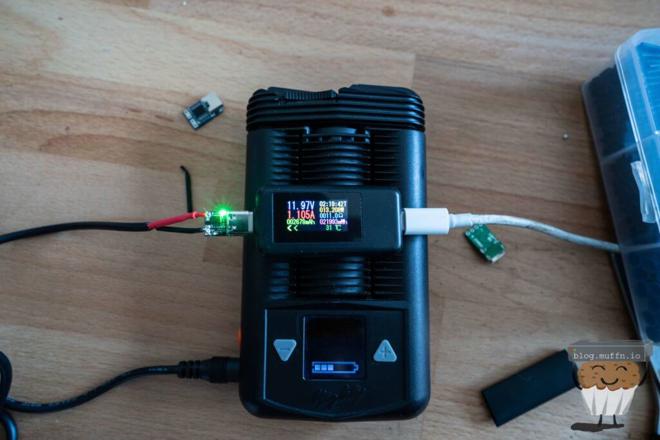
So I was interested to test at which point the Mighty would give that error on the input voltage, so I decided to unsolder one of the bridges on the green PCBs and this, as expected, dropped the output to 15V.
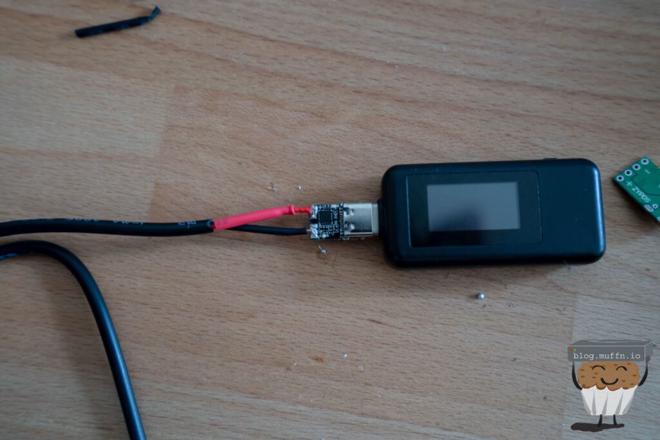
Connecting this up to the Mighty I was expecting it to give the same error, however, the Mighty seems to be okay with it, as you can see here, it is charging at 15V.
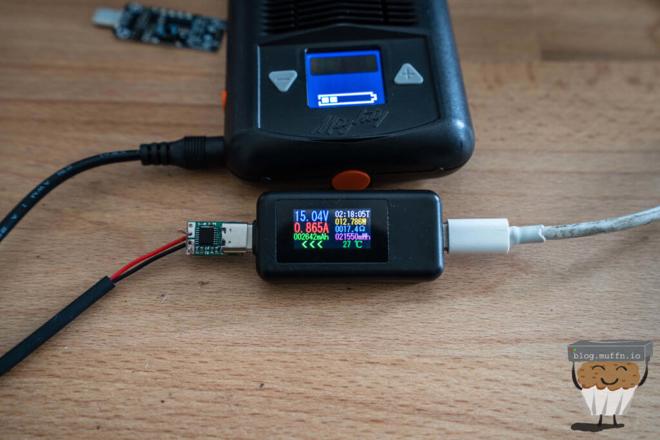
Yes, I did end up getting one of these fancy USB power meter thingies.
Now, to me, this would mean that 15V is probably in spec and would be safe to charge with, I would probably be okay doing this on mine. Having said this, I am not an electrical engineer. If someone that knows better than me tells me this is not okay, I will adjust this paragraph, but personally, I would use this as I would trust the Mighty to know at which voltage to not charge at, which is does do.
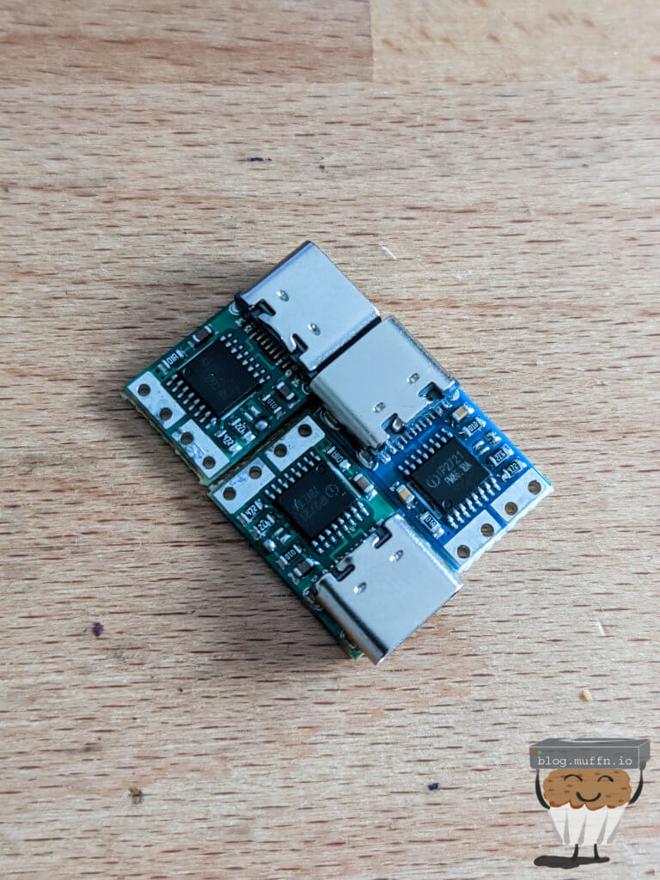
After some research, it appears that different ICs are used for the different variants, and the wrong chip was placed on, seemingly, a lot of boards. You can find the datasheet here.
After doing this I found out that ZYPDS is not the only board I could get, I could in fact search eBay / AliExpress for ‘PD Trigger’ and get boards I would need for this. It’s at this point the section ‘Getting A USB PD Trigger Device’ was created as I went ahead and bought a few more for shits and giggles.
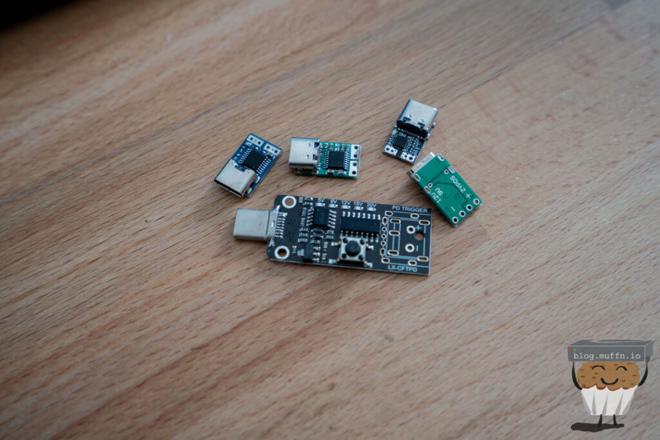
The worse thing here is I wasn’t even done. I still had about 5 more coming in the post.
The larger one was of interest to me as it allows you to select the input voltage with the button, and has extra solder pads on the back to force a voltage and for other options. This as well as the fact that it has a male USBC connection is very useful, however its size is much larger and being able to select voltage makes it useful for me to for other projects, so I decided to save it for now.
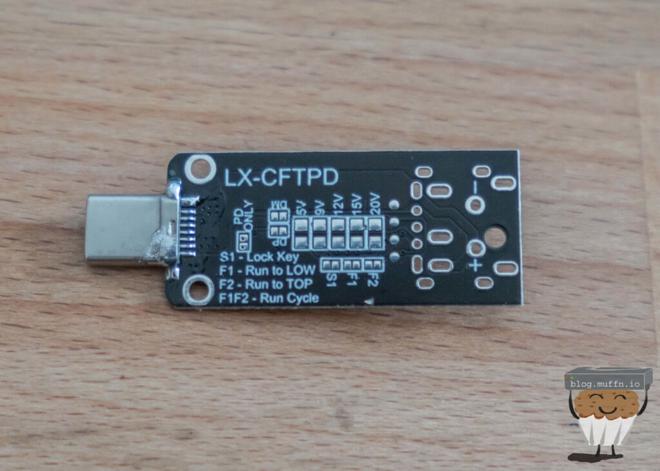
At this point, none of the dedicated 12V boards had arrived, so I utilised one of the smaller boards shown below. It allows for voltage selection as you can see on the back, using extremely small solder joints on the board.
Now, I’m not really the best at soldering, I’ve never had to do such small joints like these so close to other ones but somehow I manged to do it. In my testing here we can see the board is now outputting 12V.
Doing The Things #
As I alluded to in the introduction, this guide will be super simple. Previously when I did this you had to do a whole faff with stepping up/down the voltage but now with these fancy new PD boards, we don’t need to bother with extra steps. This is slightly marred by the issue above but assuming you can get the correct board with 12V+ output or are happy using 15V, then we’re still good to continue.
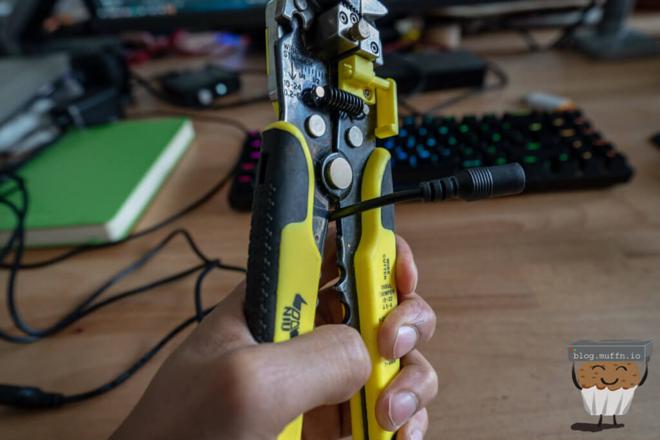
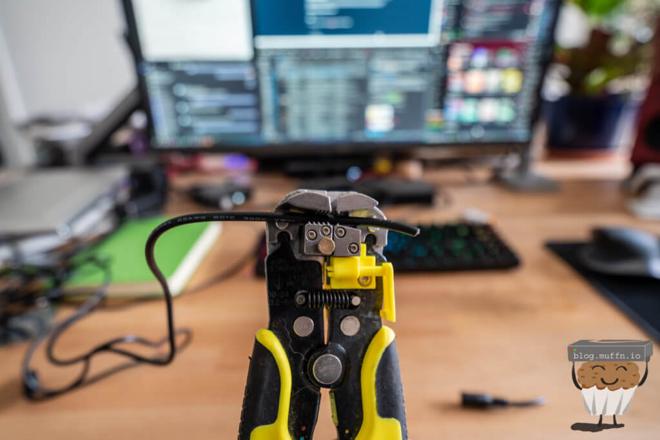
Prepare The Cable. #
Cut the female end of the cable off, and strip it down twice. Once to remove the outer sheeting, and another to expose the copper of both positive and negative cables.
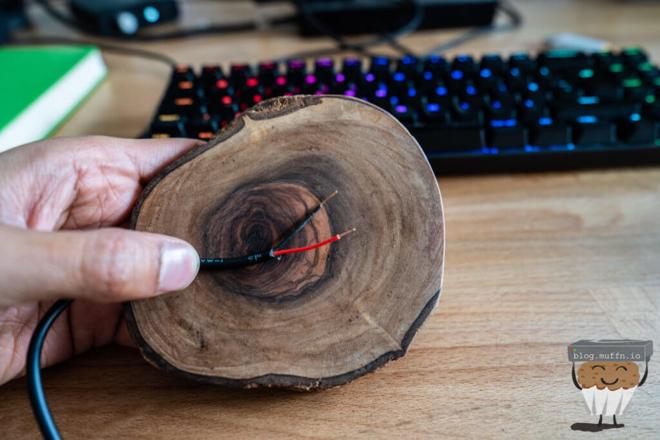
Trim the copper short as above, this ensures there is no copper cable around the solder joint that can create a short.
Solder The Bits #
Now all is left to do is solder the red lead to the positive, and black to negative. This was reletvily easy and, as per, I made life harder for myself by soldering on the front of the board when there are nice big pads away from other components at the back.
If you have nice big pads at the back, don’t forget about them like me!
And after testing we can see we have success!
Tidy The Bits #
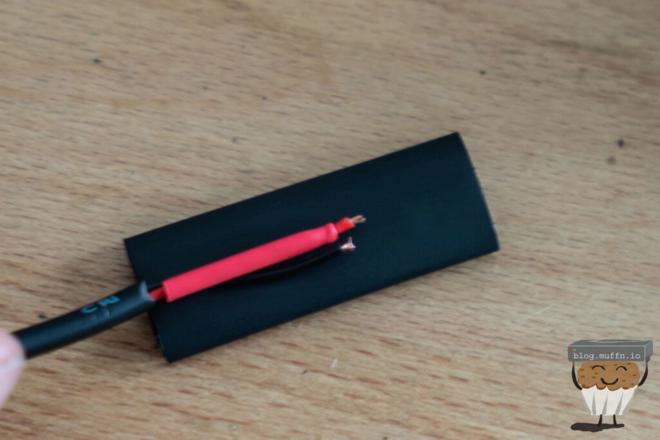
After this, I wanted to tidy it all up, so I put a bit of heat shrink over the board to protect it and it’s connections.
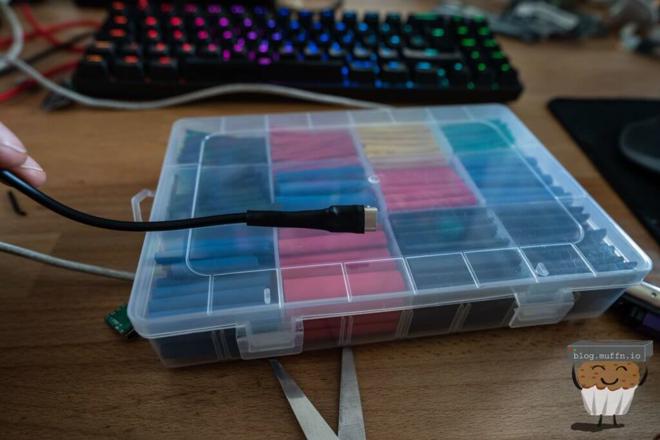
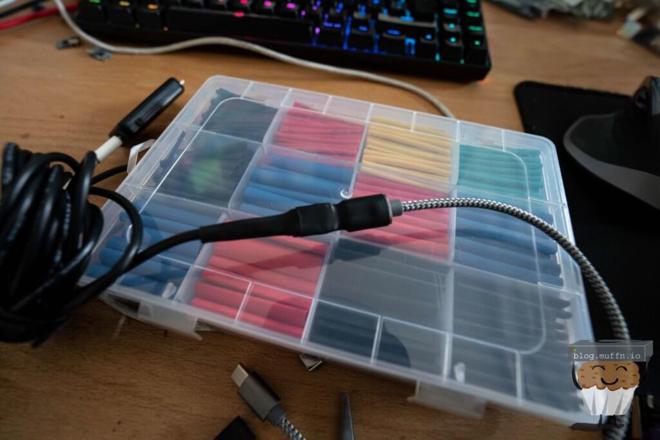
Now, this should be fine to use as is, but my thoughts were that plugging in a USBC cable into this everytime would weaken the joints and the connector itself, so I decided to buy the shortest cable I could find and heat shrink this on.
The added benefit to this is that I now have a flexible male end to plug into PD chargers.
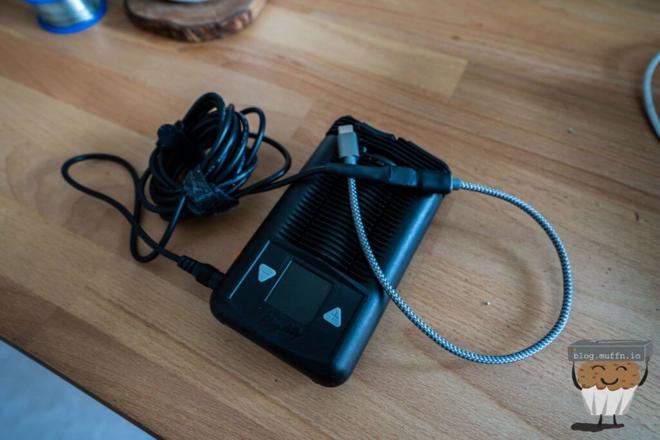
So, apart form the comically long cable this has worked beautifully. You can, of course, cut the cable much shorter which I have done for another one of these that sits on my bedside table. I do find it useful to have a long version however. Being able to plug in the Mighty to a powerbank in my bag whilst still using it on a hike, for example, is a plus.
I don’t actually have a battery bank capable of USB-PD as of yet, but when I do I will definitely update the featured image on this post.
Improvements #
Doing all this got me thinking… all of this could quite easily fit inside the Mighty itself, with a cutout for the ZYPD USBC port where the barrel connector is now.
This might be my next step in this project, this would enable you to simply plug in the USBC cable directly into the Mighty like the newer models.
If I ever do this, When I do this, I will almost certainly document this on here.
Fin #
And there you have it my fellow vaporents, I hope this has helped, please leave a comment if you tackle this yourself!
Muffin~~