Into #
I finally took a big leap in my life and said a giant ‘fuck you’ to landlords and decided to buy my first place in London.
One of the main things for my girlfriend and I was a room that we could designate for an office, as both our jobs involve working from home. We got, what we would call a very decently sized flat in South London (the best London) and with it, a decently sized additional bedroom that would be our home office.
The plan was to build 2 identical desks to save on cost and this post will be how I have gone about that.
Now, I must stress that I am not a big DIYer, so anything seen here is just me winging it and reading bits and bobs from the internet, so there will most likely be things I should have done better, alas, life is a journey. Having said that, this is not a how-to by any stretch of the imagination, just me blogging about something new to me.
The Bits #
Ikea To The Rescue #
After looking for a while at custom cut wood on the internet I came to the realisation that it would just be far too expensive to get a made-to-order slab of wood, let alone two. That’s when I stumbled upon the Ikea ranges of worktops that were very reasonably priced as well as decently sized.
-
Ikea Gerton - This thing seemed like the perfect worktop, if a little on the large side due to needing 2 of them. The Gerton is solid wood, unlike some of the other worktops used for such things which are made of chipboard covered in a veneer. The Gerton comes unfinished, so finishing and/or staining would need to be done, which is new to me but seems simple enough. At £75 each it seemed perfect, so I reserved 2 from my local Ikea.
-
Box Hairpin Legs - I could have gotten much cheaper hairpin legs, however, I absolutely love the industrial design of these particular ones and this company seemed to do very well built, robust legs so opted to purchase 2 sets of these black ‘box’ hairpin legs. I am also a big fan of trestle legs but they take more space and would make the office, which would already be filled with 2 massive desks, look even more full. Our dogs like to rest in there sometimes too so trestle desk legs would restrict their ability to do so.
-
Sandpaper & Sander - I opted to get some 400 and 320 grit sandpaper for this job based on my reading on the internet along with a hand sander to make the job a little easier.
-
Clear Matt Varnish - I decided to not stain the worktops as the images I saw online of it with just a finish seemed nice enough. Matt seemed like the way to go also to show the wood in all of it’s glory, a semi-gloss would have been okay too I suppose.
| Item | Amount | Price Per Item | Total |
|---|---|---|---|
| Ikea Gerton | 2 | £75 | £150 |
| Box Hairpin Legs | 2 | £75 | £150 |
| 320 Gritt Sandpaper | 1x10 Sheets | £3.99 | £3.99 |
| 400 Gritt Sandpaper | 1x10 Sheets | £3.99 | £3.99 |
| Hand Sander | 1 | £7.49 | £7.49 |
| Ronseal Interior Varnish Matt Clear 750ml | 2 | £12.99 | £25.98 |
| White Spirit 2L | 1 | £3.99 | £3.99 |
So the total comes to £345.44 to build 2 of these bad boys, which is really good.
Update: Before finishing this blog post but after buying both tops, the Gertons went on sale from £75 to £59. Since this was well within 90 days of purchase I was able to get a refund for the difference. Know your rights!
Building #
As soon as we got the surfaces we decided to mount one set of legs so we would have a work surface instead of doing this on the floor, using the cardboard of the Gertons as a floor to catch any spillage. The legs were simple to mount, making sure not to drill through the worktop, of course, and using the included screws.
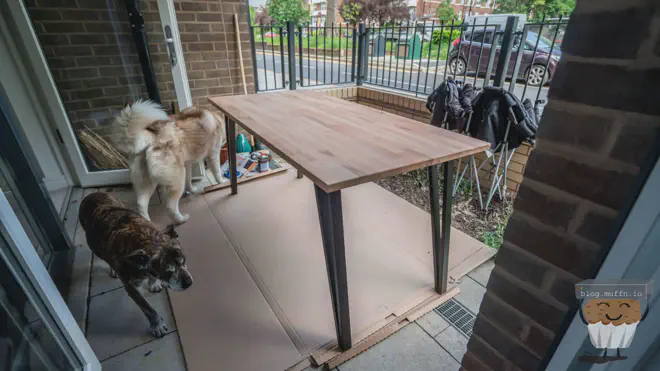
After this we placed down the protective plastic from the packaging and then put the worktop on top. This was a really dumb thing to do as I learned shortly after.

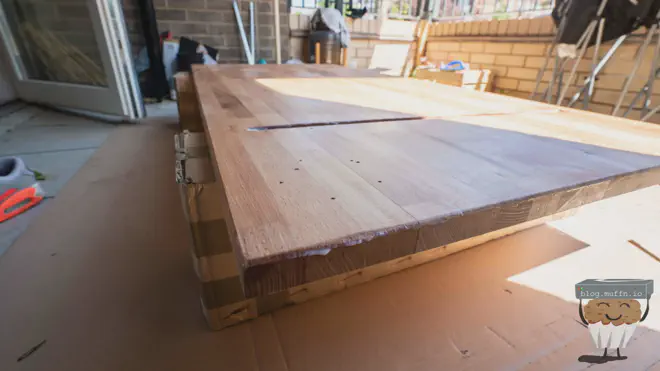
We went ahead and sanded the bottom first (the picture above is not of the bottom, however) and did one layer of varnish. The instructions on the tin did say to do 3 waiting an hour in between, however, I was being impatient and since this was the bottom I didn’t think it too necessary.
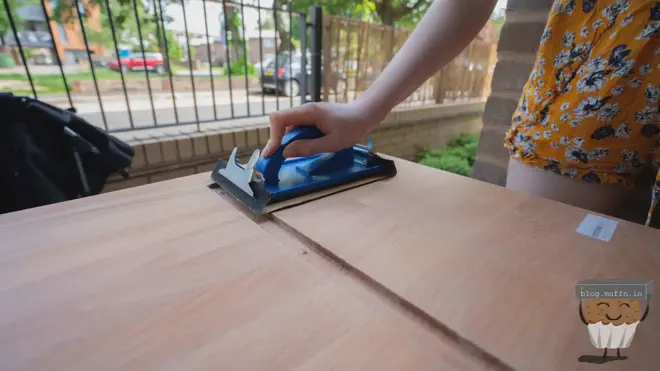
After doing the bottom and waiting the appropriate time for it to dry, we flipped it and started the process of sanding and varnishing, waiting an hour in-between.
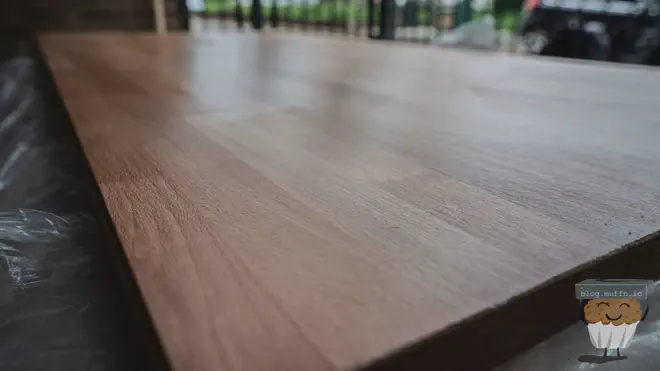
It was after the second coat of varnish I realised the mistake I had made. During the varnishing some varnish had dripped and built up around the edges of the worktop, which would have been fine however there was plastic there. The plastic had started to ‘melt’ for lack of a better term and fuse with the wood. Thankfully this wasn’t too bad and we managed to sand it all off but it’s at this point I realised that I had been rather foolish in thinking the plastic layer was protecting the worktops.
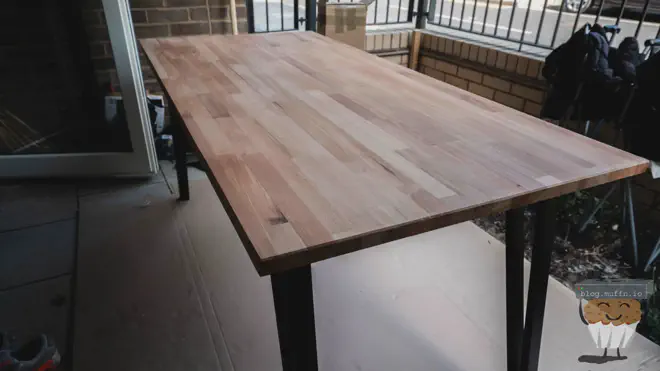
All in all I was pretty happy how things turned out, considering I did have to sand the melted plastic off some of the edges and that I had never done anything like this before.
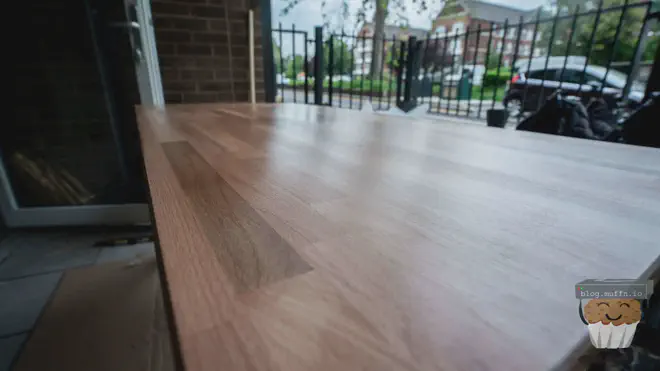
For the second one I was smarter and used some boxes to prop the worktop on to do the work on. You can see this here during the varnishing layer of the underside.
After the underside was done it made sense to put the legs on and then work on the surface like that.
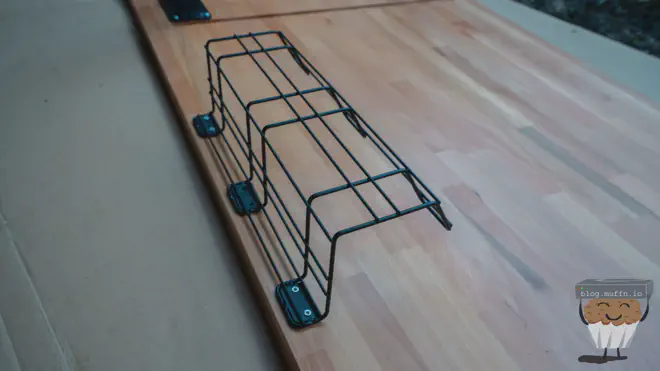
After that had gone through its 3 coats and I was happy with it, I went ahead and flipped over the desk, measured out the centre and placed these cable management trays I got from Amazon.
The Office #
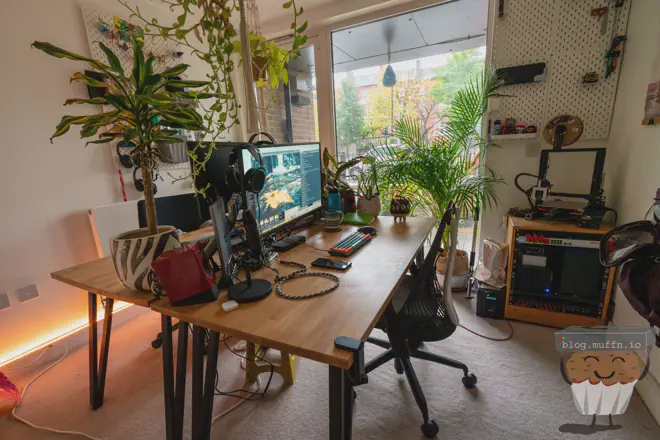
Now that both desks were completed it was just a matter of placing them in the office.
The original plan was to cut them down a smidge however we decided that we didn’t mind our two desks taking up the entire room as we were always planning for this to be a dedicated office, and they fit pretty well facing each other.
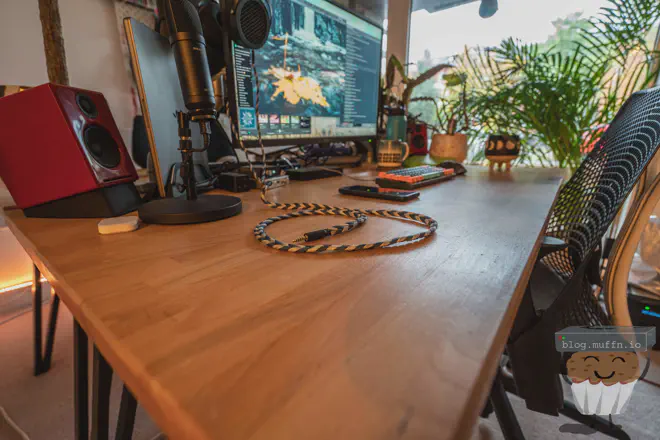
I went ahead and fitted my monitor arm to my desk and screen, and bought my girlfriend one for her desk. I opted to use the clamping method of fitment for both and not to drill a hole through the desk to keep the desks as fresh as possible for future reshuffles.
Here is what everything looks like now that all is said and done! It’s been a pretty productive and cosy space and we’re really happy with how the desks turned out!
Fin #
Thanks for reading! I hope this helped someone!
Muffin.